First, XMENU is a plugin and must installed into a Wordpress framework, so make sure you have already installed Wordpress 3.9 or higher. If you haven't already done this, go to Wordpress.org for a free download and installation.
Download XMENU plugin
Get the XMENU plugin installation package from your account(after login on Themeforest.net) at downloads page and save it to your computer.
Install XMENU
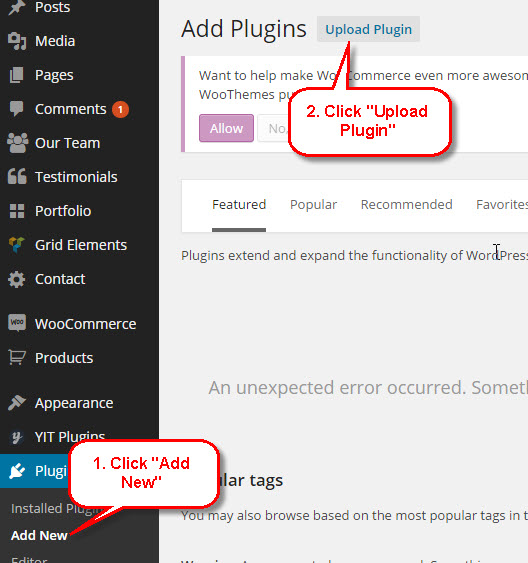
Dashboard ► Plugins ► Add New ► Upload Plugin
Follow the next steps to setup plugin:
- Extract file "XMENU.zip" from the general archive to your computer;
- Log in dashboard of your WordPress;
- Next follow the way "Plugins ► Add New ► Upload Plugin";
- In the file selection field you should choose "XMENU.zip" stored in your computer, and click the button "Install Now";
- Don't forget to activate plugin.
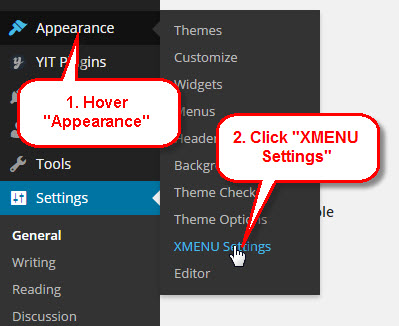
If you followed all instructions correctly, the link "XMENU Settings" should be added in the section "Appearance". At this point, XMENU will have no effect on the front end of your site.
Create your menu
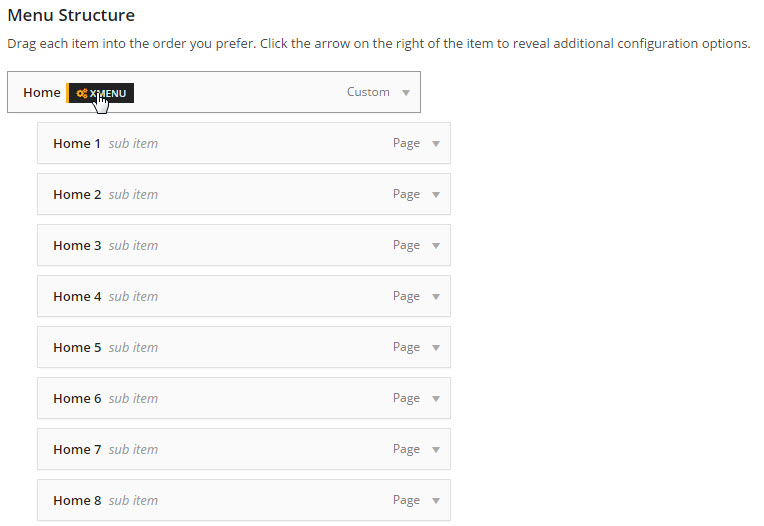
If you don’t have an menu yet, go to Appearance > Menus and create one. If your theme properly supports theme locations, click the Manage Locations and assign your menu to the appropriate theme location.
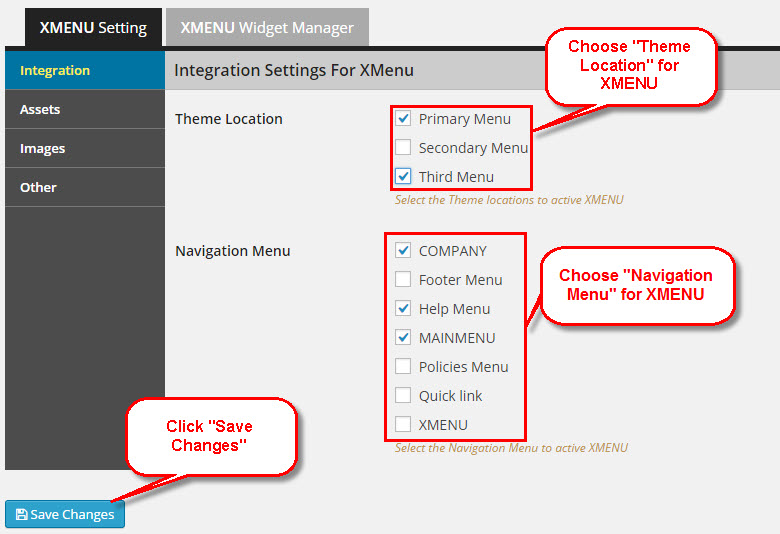
Integration with XMENU
Go to the Appearance > XMENU Settings.
Next, choose tab XMENU Setting > Integration, check the box next to the Theme Location or Navigation Menu you wish to activate XMENU. User can choose one or more Theme Locations or Navigation Menus to active for XMENU. Click "Save Changes" button